Keeping a clean and tidy home is something we all strive for, but let's face it, some areas are just plain tricky. These challenging spots can often feel like they have a life of their own, with grime and dirt seemingly determined to stay put no matter how hard we scrub. But fear not! We're here to shed some light on the most stubborn culprits and offer tips that will make your next cleaning session a bit more manageable.
From the relentless grime on your oven racks to the mystery stains that appear on your carpet every time you're not looking, we'll explore the usual suspects and arm you with strategies to take them down. So grab your cleaning supplies, throw on some energizing music, and let's tackle these cleaning challenges together!
- Battle with the Oven
- Taming Carpet Stains
- Ceiling Fans and Dust
- Shower Grout Solutions
- Window Blinds and Smudges
- Pet Hair and Upholstery
Battle with the Oven
Let's dive into the realm of the kitchen, where the oven stands as both a trusty ally in cooking meals and an infuriating enemy when it comes time to clean. It's no secret that the oven often houses a mountain of splatters, spills, and baked-on residue, turning a helpful appliance into a cleaning nightmare. This can often leave you scratching your head, wondering where to begin in tackling one of the most difficult areas of home maintenance.
To begin with, regular maintenance is key. It's all too easy to ignore the accumulating mess until it's almost out of control. Herein lies the secret – frequent, light cleaning sessions might save you the daunting task of a major cleanup later. For those using commercial oven cleaners, remember to opt for ones that are environmentally safe. If chemical cleaners aren't your cup of tea, a home remedy of baking soda and vinegar might just do the trick. Spread a thick paste of baking soda and water over the interior surfaces, leave it to sit for several hours, ideally overnight, then spray with vinegar and wipe clean. You might be pleasantly surprised at how this household staple shines just as brightly as any store-bought product.
Avoid neglecting the oven racks, which are often victims of burnt-on mess. Simply place them in a bathtub with some dishwasher detergent and let them soak. This makes scrubbing the grime away far more manageable. To maximize cleaning efficiency, it's important to line the bottom of the oven with a disposable, heat-safe liner. This captures drips and spills, making your routine cleaning job much easier.
In a recent survey of homeowners, a surprising 65% admitted to feeling overwhelmed when tackling their grimy ovens.
"Cleaning the oven can often feel like staring into the abyss," comments Alicia Reynolds, a home organization expert. "But breaking it down into smaller, actionable steps makes it a task anyone can conquer."Her words resonate with many who might find themselves dreading this particular chore.
Finally, it's worth noting that self-cleaning ovens are not flawless. While they do remove some dirt, they can also emit unpleasant smells and even lead to mechanical issues in the long run. When using such a feature, make sure to read the manufacturer's guidelines to avoid any mishaps. And remember, whether self-cleaning or not, a regular once-over with a damp cloth will help keep the interior looking fresh.
With these careful strategies at hand, the oven no longer needs to be an intimidating task in your housekeeping routine. Armed with newfound knowledge and the right supplies, you're now ready to reclaim your oven as the helpful kitchen companion it was meant to be. After all, every culinary adventure deserves a clean beginning.
Taming Carpet Stains
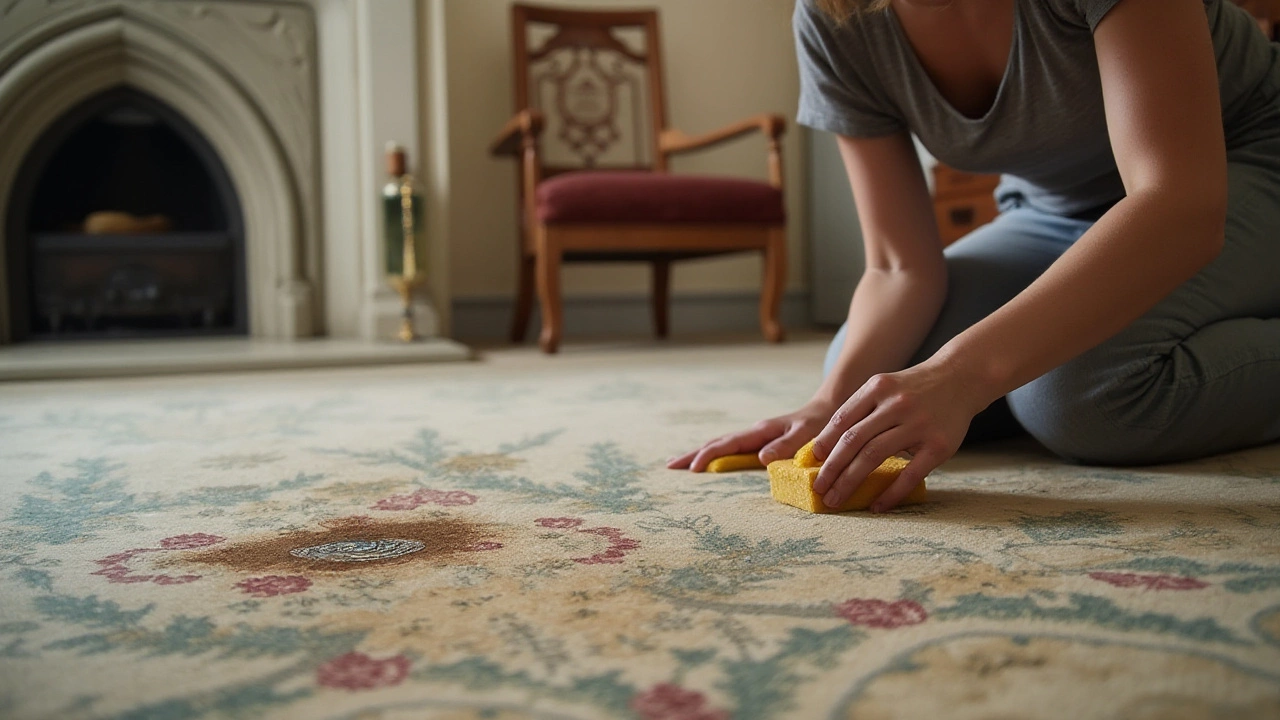
Ah, the carpet—our feet's warm haven on cold days, the playground for little ones, and the cushion for our delicate steps. But carpets can also be the unwelcome canvas for spills, muddy footprints, and mysterious stains that seem to materialize overnight. It's a dance we know well: the frantic dash to blot, scrub, and hope for the best. Yet, with a little know-how and the right trick up your sleeve, even the most stubborn carpet stains can meet their match. The goal? To master the art of stain removal and restore peace to your home’s beloved soft ground.
To start, it's always beneficial to understand the material of your carpet, as different fibers respond uniquely to cleaning techniques. Whether you're working with a synthetic blend or a natural wool weave, knowing your carpet's makeup can help avoid any mishaps. When an incident occurs, timing is of the essence. The quicker you can tend to a spill, the lower the chance it will embed itself into the fibers. As soon as you spot a spot, grab a clean cloth and start blotting—not rubbing—the stain, moving from outside to inside to keep it from spreading.
Now, let’s talk about handy solutions. A timeless remedy many swear by involves mixing a teaspoon of mild dishwashing detergent with a cup of warm water. This simple concoction can be quite the hero to many common stains. Use a spray bottle to lightly mist the stained area, then gently dab with a cloth. Be patient, as a stain's willingness to disappear often depends on the dance you do back and forth between ample wetting and dabbing. If you're dealing with old or set-in stains, adding a tablespoon of white vinegar to the mix can enhance your cleaning power without damaging your carpet's color. Detergents and vinegars can penetrate and dislodge particles settled deep within, especially in high-traffic areas often graced with the toughest stains.
“The key to a stain-free carpet lies in prompt action and the right cleaning agents,” advises Martha Stewart, known for her expertise in home organization and decor.
For those grappling with specific stain types, like wine or coffee, a mixture of two-parts hydrogen peroxide to one-part water can work wonders. Always test any new cleaning solution on a less visible part of your carpet first, ensuring no discoloration occurs. While effective, hydrogen peroxide is a bleaching agent and should be approached with caution. If a professional’s touch is required, seeking out steam cleaners can be a game-changer, reaching into your carpet like never before and delivering a level of hygiene that’s hard to match with manual cleaning techniques.
In cases where DIY attempts fall short, don't hesitate to reach out to professional carpet cleaners. They possess the advanced equipment needed to tackle even the most daunting stains. A periodic deep clean from a pro can keep your carpet looking fresh and extend its lifespan significantly. By employing these carpet cleaning strategies and recognizing when to call for reinforcement, you'll keep your carpets as vibrant and inviting as the day they were installed.
Ceiling Fans and Dust
Ceiling fans are often the unsung heroes of our homes, quietly moving air and keeping us comfortable without requiring much attention. Yet, their elevated position also makes them prime real estate for dust accumulation. This can cause not only a visible layer of grime but also may impact the air quality in your living space. Moreover, every gust of air from those spinning blades can send dust spiraling down into the room below, making cleaning them an absolute necessity. The challenge, however, lies in reaching them and ensuring a thorough clean without showering yourself in dust particles. As such, a strategic approach combined with a sensible routine can go a long way in maintaining a dust-free environment.
Spending a few minutes each month dedicated to your ceiling fans can make a world of difference. Prioritize safety by turning off the fan and using a sturdy step ladder. One effective method involves using a pillowcase: spray a little cleaning solution inside, cover a blade with the pillowcase, and gently pull the dust off. This clever trick traps the dust inside the fabric, preventing it from falling onto the floor or furniture. While some may use a duster, it's important to keep in mind that it can sometimes just push dust around unless it's made of materials specifically designed for trapping particles. If you're tackling a heavily soiled fan for the first time, you might need a damp microfiber cloth to tackle the sticky residue that sometimes develops over time.
Regular cleaning can prevent excessive dust build-up, helping your fans function efficiently. Dust-laden blades can cause the fan to wobble or become unbalanced, which in turn may shorten its lifespan. According to a survey by the Home Cleaning Association (HCA), 67% of homeowners admitted to forgetting about their ceiling fans during their regular cleaning routine. Imagine how dusty and inefficient a fan could become if neglected for months at a time! As a rule of thumb, your ceiling fans should be wiped clean weekly if your home is particularly prone to dust. ARTV recommends running them in both directions: counterclockwise to cool during the summer months and clockwise in the winter to circulate warm air. This practice not only enhances comfort but also helps identify when blades are due for a clean just by observing dust flicking off during seasonal transitions.
Regular maintenance doesn't just mean less dust; it promotes better air circulation and reduces energy consumption, says Samantha Moretti, a Melbourne-based home efficiency expert. "Clean fans operate more smoothly, allowing you to enjoy that perfect breeze without a care in the world." Investing a few moments into upkeep can return dividends not just from an aesthetic perspective but in how your space feels, creating a refreshing and inviting atmosphere for everyone who enters your home.
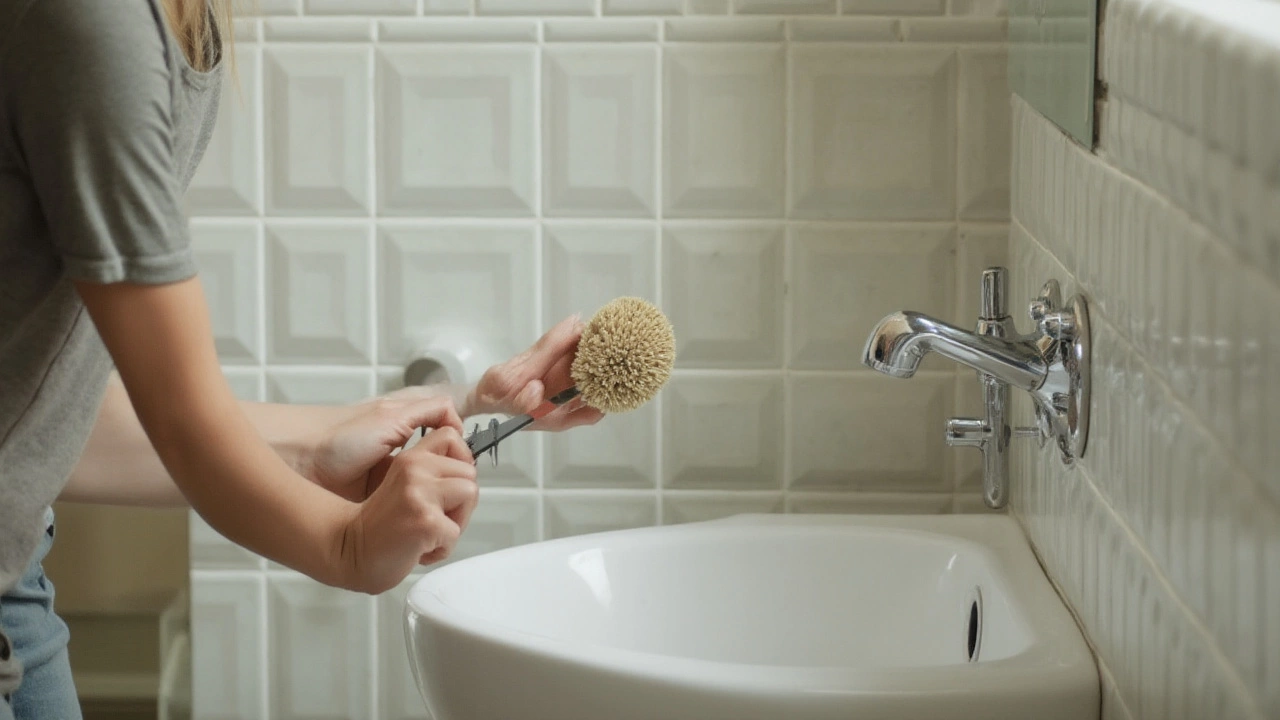
Shower Grout Solutions
Ah, the notorious shower grout, perhaps the nemesis of even the most diligent cleaner. It's that very thin line between the tiles that often harbors an unsavory mix of mold, mildew, and soap scum. Keeping these lines pristine can feel like a never-ending battle, more so if your home frequently sees the humidity and warmth that allow these nuisances to thrive. The good news is, with patience, the right tools, and some elbow grease, you can keep your grout looking fresh and clean. The key lies in understanding why grout gets dirty in the first place. Generally, it's highly porous, which means it's susceptible to absorbing dirt and water. This creates the perfect environment for mold and mildew, those sneaky little troublemakers that seem to thrive in every damp corner.
Let's start with a basic but effective cleaning method. Begin by using a stiff-bristled brush or an old toothbrush to loosen the dirt and grime. A paste made of baking soda and water applied to the grout lines can work wonders. After letting the paste sit for about 15 minutes, scrub it with the brush in circular motions. Baking soda serves as a gentle abrasive while remaining non-toxic, making it perfect for use in areas with heavy human contact.
For stubborn stains, consider using a vinegar solution. Mix equal parts of vinegar and water in a spray bottle and apply it to the grout. Allow it to sit for about five minutes before scrubbing, then rinse thoroughly with warm water. Be cautious, though, as vinegar can be harsh on natural stone tiles, so always consider the surface material before using acidic solutions.
Sophie Hinchliffe, a well-known cleaning guru, once said, "The right tools and a structured cleaning routine can make all the difference when tackling even the grimiest jobs."
If vinegar isn't enough, a safer commercial grout cleaner might be necessary. When using stronger chemical cleaners, however, remember to work in a well-ventilated area and use gloves, as some ingredients can be harsh on both skin and lungs. Prevention is a great weapon in this cleaning war. Applying a grout sealer every six months can repel moisture and reduce the growth of mold and mildew in the future.
When it comes to preventing grime build-up, consistency is key. Make a habit of wiping down shower walls with a squeegee or dry towel after each use. This simple step minimizes moisture and soap residue, keeping your shower sparkling between deep cleans. Proper ventilation is also crucial — if you don't have an extractor fan, consider leaving a window ajar to let the steam escape. With regular care and a few effective techniques, grout grime doesn't stand a chance.
Window Blinds and Smudges
Dealing with window blinds can often feel like a never-ending battle. These everyday fixtures in our homes have an uncanny ability to accumulate dust and smudges as if by magic. Whether you're a fan of traditional wood blinds, elegant fabric shades, or sleek metal mini blinds, each type presents its own unique set of cleaning challenges. The problem with blinds is that they require careful attention to detail to avoid leaving behind streaks or causing damage. Dust and grime can settle into the nooks and crannies, making them a test of patience and skill.
To tackle dust effectively, begin by closing the blinds and working in sections. You can use a microfiber cloth or a vacuum cleaner with a brush attachment to gently remove the loose dust. For more stubborn smudges, mix a few drops of dish soap in a bowl of warm water and dampen a clean cloth. It’s crucial to wipe each slat individually and to alternate sides to ensure thorough cleaning. For fabric shades, a vacuum cleaner with an upholstery attachment will be your best friend to fend off dust without damage. Consider weekly maintenance to prevent dirt from setting, which dramatically simplifies the task in the long run.
Don't underestimate the power of household items for your cleaning tips. A simple fabric softener sheet, for example, can work wonders as a dust-repellant when wiped over the slats, leaving a pleasant scent behind. If facing stubborn stains or smudges, a mixture of equal parts water and white vinegar can do the trick without risking any harm to the blinds. It's an old but gold approach that our grandmothers often swore by for keeping homes spotless. To polish up metal blinds, consider a touch of olive oil on a soft cloth—it adds a sheen and restores the natural luster.
"The secret of joy in work is contained in one word—excellence. To know how to do something well is to enjoy it." — Pearl S. Buck
When considering dust on home organization surfaces like blinds, be mindful of the static electricity that builds up, which often attracts and holds dust particles even more fiercely. A simple anti-static spray used occasionally can be a frontline defense against this sticky situation. Alternatively, consider taking down blinds, giving them a soak in a bathtub with mild soap, and then thoroughly drying them for a deep clean. Keeping the blinds open appropriately also reduces the surface area exposed to dust, maintaining a cleaner appearance for longer periods.
Cleaning tough stains from blinds may seem insurmountable, but with a bit of knowledge and a regular routine, those smudges will be as good as gone. Remember, the key is consistency. Staying on top of the task with frequent, smaller cleaning sessions rather than ignoring it until it becomes overwhelming is usually the most effective strategy. By maintaining this simple routine, you can ensure your blinds remain as clear and bright as the sunlight they so artfully manage.
Pet Hair and Upholstery
For many, the joy of having a furry companion is one of life's true delights. However, alongside affection and loyalty comes the inevitable shedding of pet hair, which can seem almost magnetically attracted to your sofa and chairs. Tackling pet hair on upholstery is a challenge that requires patience and some clever tactics. Many pet owners have found that dedicating a specific routine to managing pet hair prevents it from becoming an overwhelming task.
One effective method involves using a rubber glove slightly dampened with water. When rubbed over fabric, it creates a static charge, causing the hair to clump together, making it much easier to remove. Beyond this, a high-quality vacuum cleaner equipped with a pet hair attachment can be a game changer, offering powerful suction and specialized brushes designed to lift hair away from fibers. You could also consider an air purifier, which helps reduce airborne particles, as less hair floating around means less settling onto surfaces.
The choice of upholstery fabric plays a significant role too. Fabrics like leather or tightly woven materials tend to repel hair more effectively than their looser, more textured counterparts. Microfiber, with its smooth texture, makes cleaning a breeze and can help reduce the amount of hair that sticks.
Additional Strategies
For those persistent strands that defy removal, consider fabric softener sheets. Not only useful in the laundry room, these can be rubbed lightly over surfaces to attract hair. Another alternative is using a slightly moistened sponge, which, similarly to the rubber glove method, helps gather hair into manageable clumps.Occasionally using a professional cleaning service can keep your furniture in tip-top shape. Experts often utilize steam cleaning, effectively lifting hair and dirt deeply embedded in the fabric.
"If you have pets, it's important to prioritize cleaning not just for appearance, but to maintain a healthy home environment," says Jane Williams, a cleaning specialist from a well-respected Melbourne cleaning service.
Incorporating these practices consistently can make a significant difference, ensuring your home remains both tidy and comfortable. So while pet hair might seem like an unstoppable force, the right approach will help keep it at bay, allowing you to enjoy your pets without worry.