Personalized 4-Step Skincare Routine Builder
Your Profile
Your Personalized Routine Awaits
Select your skin profile and click "Build My Routine" to get customized product recommendations and step-by-step instructions.
Your 4-Step Routine
Pro Tip
Quick Product Reference
| Step | Product Type | Key Ingredients | Application Time |
|---|
Your skin is working overtime every single day. It’s blocking out UV rays, fighting off bacteria, and trying to hold onto moisture while you scroll through your phone in air-conditioned rooms or brave the humid Melbourne summer. Yet, most of us treat it like an afterthought, slapping on whatever product we saw on social media last night. The result? Clogged pores, breakouts, and that tired, dull look that no amount of concealer can fix.
You don’t need a twenty-step regimen from a K-beauty influencer to get clear, glowing skin. In fact, adding too many products often does more harm than good by irritating your skin barrier. The secret isn’t complexity; it’s consistency with the right fundamentals. This is where the 4 step face care routine comes in. It’s the golden standard for a reason: it covers every essential need your skin has without overwhelming it.
The Core Philosophy: Less Is More
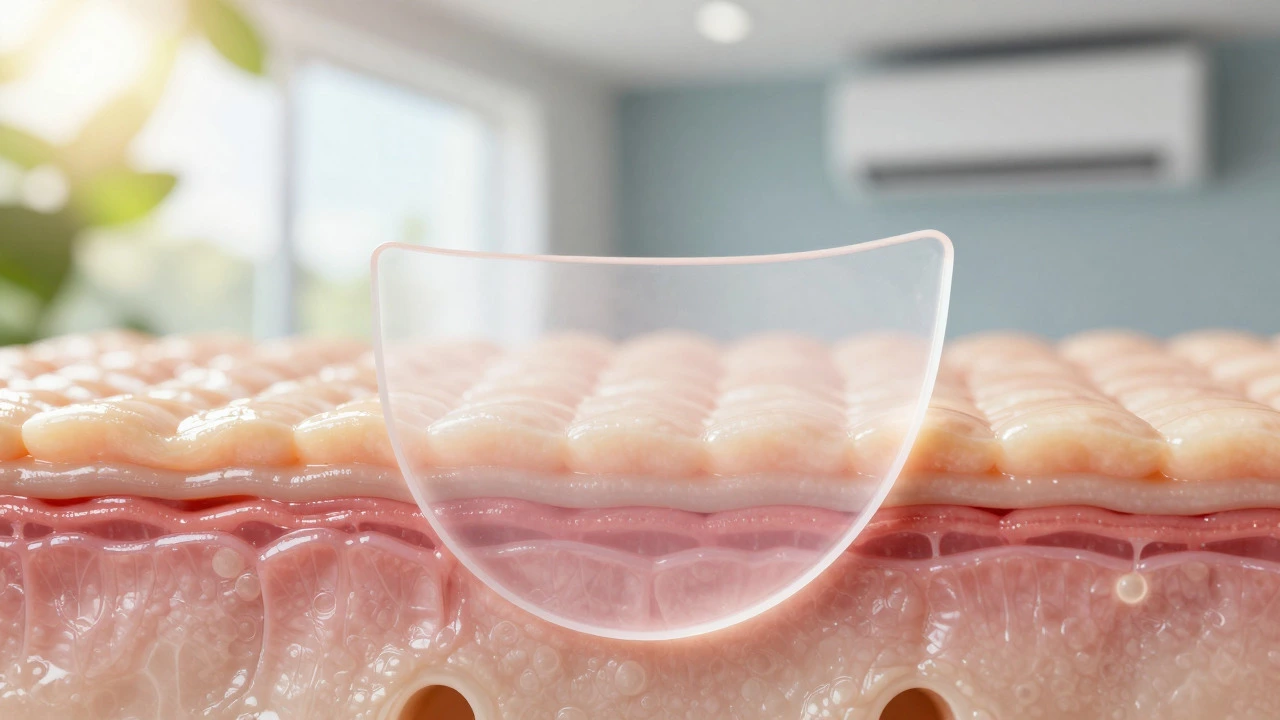
Before we jump into the specific steps, let’s talk about why this approach works so well. Your skin is an organ, not a canvas for experimental chemistry. It has a natural protective layer called the acid mantle, which keeps bad stuff out and good moisture in. When you bombard it with ten different serums, acids, and essences, you risk stripping away this protection. That leads to redness, sensitivity, and ironically, more oil production as your skin panics and tries to compensate.
The four-step method respects your skin’s biology. It cleanses away debris, balances pH, replenishes hydration, and shields against environmental damage. If you master these four pillars, you’ll likely see better results than someone using fifteen random products. It’s about building a strong foundation first. Once your skin is healthy and balanced, you can always add targeted treatments later if needed, but for now, keep it simple.
Step 1: Cleanse - The Essential Reset
Cleansing is non-negotiable. Think of it as sweeping the floor before you wax it. If you skip this step, everything else you apply just sits on top of dirt, oil, and makeup, rendering it useless. But here’s the catch: most people are cleansing wrong. They scrub too hard, use water that’s too hot, or pick a cleanser that strips their skin dry.
Your goal is to remove impurities without disrupting your skin barrier. Look for a gentle, pH-balanced cleanser. If you have oily skin, a gel or foaming cleanser might feel refreshing, but ensure it doesn’t leave your face feeling tight or squeaky clean-that’s a sign you’ve gone too far. For dry or sensitive skin, opt for a cream or milk cleanser. These hydrate while they clean.
Apply the cleanser to damp skin using lukewarm water. Massage it in circular motions for about sixty seconds. Yes, a full minute. This gives the ingredients time to break down sebum and sunscreen effectively. Rinse thoroughly and pat your face dry with a clean towel. Never rub. Rubbing causes micro-tears and inflammation over time.
- Morning: You can use a gentle cleanser or just rinse with water if your skin is very dry. However, if you use heavy night creams, a quick cleanse is still recommended.
- Night: Always double cleanse if you wear makeup or sunscreen. Start with an oil-based cleanser or micellar water to dissolve makeup, then follow with your water-based cleanser to wash away residue.
Step 2: Tone - Balancing Act
Toners have had a bit of a reputation problem. Years ago, they were loaded with alcohol, designed to sting and strip oil. Those days are thankfully over. Modern toners are hydrating, soothing, and crucial for balancing your skin’s pH level after cleansing. Water alone can sometimes leave your skin slightly alkaline, which disrupts the acid mantle. A toner brings that balance back quickly.
This step also preps your skin to absorb the next products better. Imagine trying to soak up water with a sponge that’s already saturated versus one that’s dry. Toners lightly dampen the surface, opening the door for moisturizers to penetrate deeper.
Choose a toner based on your specific concerns. If you’re dealing with acne, look for ingredients like salicylic acid or niacinamide. If you want brightness, go for something with vitamin C or glycolic acid (but start slow). For general hydration and calming, hyaluronic acid and rose water are fantastic choices. Apply it by pouring a small amount into your palms and pressing it gently into your skin, or use a cotton pad if you prefer a slightly exfoliating effect. Avoid rubbing harshly.
Step 3: Moisturize - Locking It In
Even if you have oily skin, you need moisturizer. This is the biggest myth in skincare. Oily skin produces excess sebum because it’s dehydrated. When you skip moisturizer, your skin screams for help by producing even more oil, leading to clogged pores and shine. Moisturizer seals in the hydration from your toner and creates a barrier that prevents water loss throughout the day.
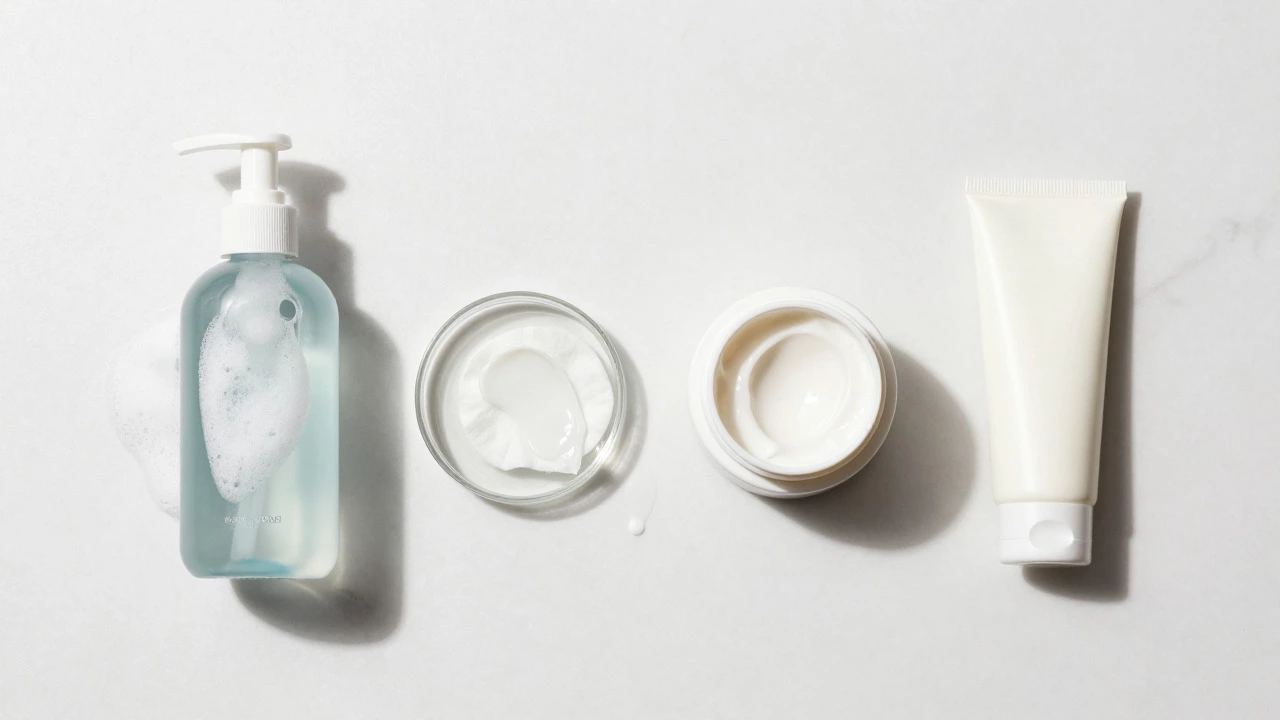
The key is choosing the right texture. Gel-based moisturizers are lightweight and perfect for oily or combination skin types. They absorb quickly without leaving a greasy film. Cream-based moisturizers are richer and ideal for dry or mature skin, providing longer-lasting nourishment. Look for ingredients like ceramides, which repair the skin barrier, and squalane, which mimics your skin’s natural oils.
Apply your moisturizer to slightly damp skin. This helps trap the water molecules against your face. Use upward strokes, moving from your neck towards your jawline, and from your nose outwards towards your ears. Don’t forget your neck! The skin there is thin and shows signs of aging just as fast as your face.
Step 4: Protect - The Anti-Aging Shield
If you do only one thing in this entire routine, make it this one. Sunscreen is the single most effective anti-aging product on the market. No expensive serum can undo the damage caused by unprotected sun exposure. UV rays break down collagen, cause hyperpigmentation, and increase the risk of skin cancer. And yes, you need it even when it’s cloudy. Up to eighty percent of UV rays penetrate clouds.
In Australia, where the ozone layer is thinner and UV levels are high year-round, skipping sunscreen is practically playing Russian roulette with your skin. Aim for a broad-spectrum SPF of at least 30, though SPF 50+ is recommended for extended outdoor activities. Apply it as the final step of your morning routine, about fifteen minutes before heading out.
A common mistake is not applying enough. Most people use only half the required amount. You need about two fingers’ worth of sunscreen for your face and neck. Reapply every two hours if you’re outside. If you find sunscreen feels sticky or white, try mineral-based formulas with zinc oxide or newer chemical filters that are designed to be invisible and lightweight. There’s really no excuse anymore-sunscreen technology has come a long way.
| Skin Type | Cleanser | Toner | Moisturizer | Sunscreen |
|---|---|---|---|---|
| Oily/Acne-Prone | Gel/Foaming | Niacinamide/Salicylic Acid | Oil-Free Gel | Matte Finish SPF 50+ |
| Dry/Sensitive | Cream/Milk | Hyaluronic Acid/Rose Water | Rich Cream with Ceramides | Hydrating Mineral SPF 30+ |
| Combination | Gentle Foam | Balancing/Alcohol-Free | Lightweight Lotion | Universal Broad-Spectrum SPF 50 |
| Mature | Cream Cleanser | Vitamin C/Antioxidant | Rich Cream with Peptides | Anti-Aging SPF 50+ |

Common Mistakes to Avoid
Knowing the steps is one thing; executing them correctly is another. Here are the pitfalls that derail most skincare journeys.
Over-exfoliating: Just because a product says "daily" doesn’t mean you should use it daily. Physical scrubs and strong chemical exfoliants can compromise your barrier if used too frequently. Stick to once or twice a week unless directed otherwise by a dermatologist.
Ignoring the Neck and Chest: We age chronologically, but our skin ages environmentally. The sun hits your chest and neck just as hard as your face. Extend your routine downwards. It takes ten extra seconds and pays off in years.
Changing Products Too Often: Skin cells take about twenty-eight days to turnover. If you switch products every week, you’ll never know what’s working or what’s causing a breakout. Give any new product at least four weeks before judging its effectiveness.
Using Dirty Tools: Your makeup brushes, sponges, and even your pillowcases harbor bacteria. Wash your tools weekly and change your pillowcase twice a week. Acne often starts from contact with dirty surfaces, not just bad genetics.
Adapting the Routine for Different Seasons
Your skin needs change with the weather. In the height of a Melbourne winter, the air is cold and dry, which can crack your skin barrier. You might need to swap your gel moisturizer for a heavier cream and add a facial oil before moisturizing. In summer, humidity increases sweat and oil production. You might switch to a lighter cleanser and a matte sunscreen to control shine.
Listen to your skin. If it feels tight after washing, your cleanser is too harsh. If it’s constantly shiny and congested, your moisturizer might be too heavy. Flexibility within the four-step framework allows you to maintain health regardless of external conditions.
When to See a Professional
This routine is excellent for maintenance and mild issues, but it’s not a cure-all. If you have persistent cystic acne, severe rosacea, or unexplained rashes, see a dermatologist. They can prescribe topical retinoids or antibiotics that work alongside your basic routine. Self-treating serious conditions with over-the-counter products can sometimes worsen inflammation or lead to scarring.
Also, consider patch testing any new product. Apply a small amount behind your ear or on your inner arm for forty-eight hours. If there’s no reaction, it’s likely safe for your face. This simple step saves you from potential allergic reactions that could set your progress back weeks.
Can I skip the toner step?
Yes, you can. While toners help balance pH and boost hydration, they are not strictly essential if your cleanser is gentle and pH-balanced, and your moisturizer is effective. If you’re short on time or budget, prioritize cleansing, moisturizing, and sunscreen. You can add a toner later if you feel your skin needs extra hydration or balance.
How long does it take to see results from this routine?
Skin cell turnover takes approximately twenty-eight days. You might notice immediate improvements in hydration and texture after a few days, but significant changes like reduced acne or faded dark spots typically take four to twelve weeks of consistent use. Patience is key; consistency beats intensity.
Do I need different products for morning and night?
Ideally, yes. Your morning routine focuses on protection, so sunscreen is critical. Your night routine focuses on repair and cleansing, so you might use a richer moisturizer or treatment products. However, if you’re keeping it simple, you can use the same cleanser and moisturizer twice a day, just omitting sunscreen at night.
Is this routine suitable for sensitive skin?
Absolutely. The simplicity of the four-step routine makes it ideal for sensitive skin. Just choose fragrance-free, hypoallergenic products. Avoid harsh physical scrubs and strong acids. Look for calming ingredients like centella asiatica, oat extract, and ceramides to soothe irritation.
What if I wear makeup? Does that change the routine?
It adds a preliminary step in the evening. You should double cleanse at night: first use an oil-based cleanser or micellar water to dissolve makeup and sunscreen, then follow with your regular water-based cleanser. This ensures all residue is removed before you apply your nighttime moisturizer.