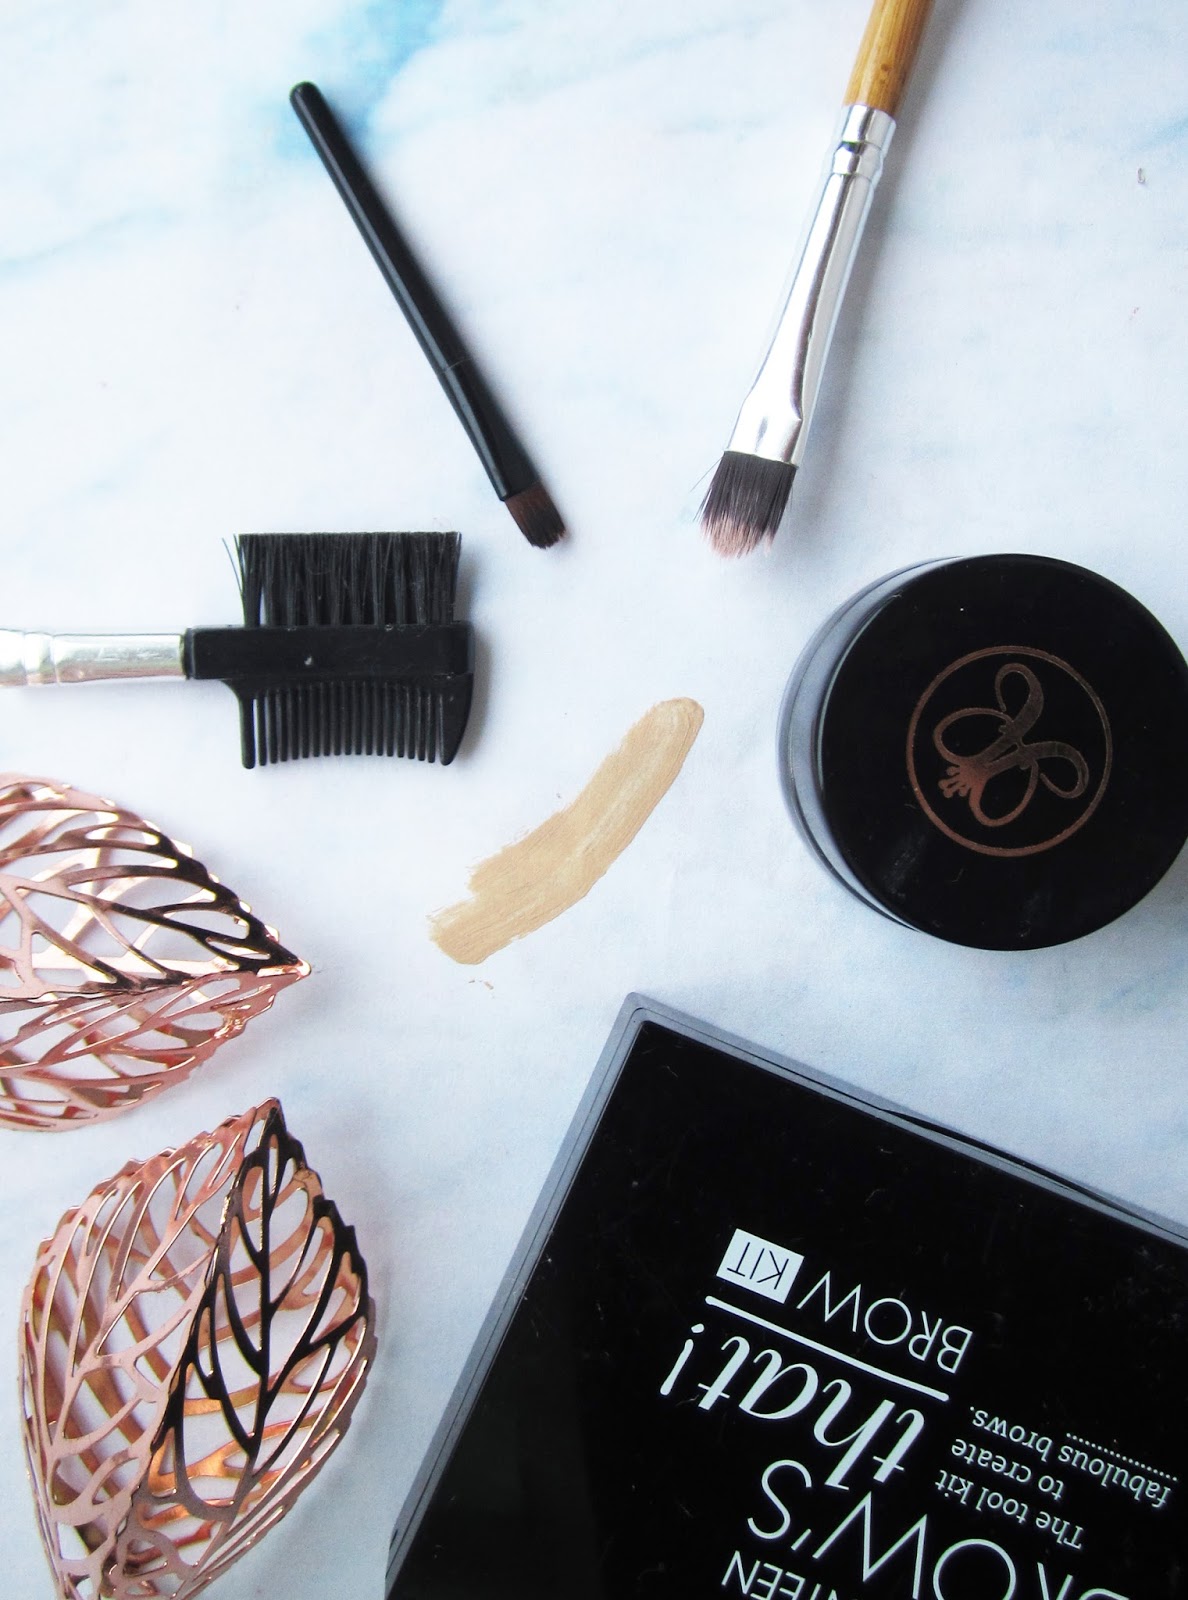
I've mentioned before that brows are one of my most honoured features. By that I mean, if there's nothing else on my face before leaving the house you best bet that I'll have my brows filled and taken care of- I feel like Kim Possible's pet mole rat otherwise, sorry Rufus.
Before you read this I'd like to mention that I'm not a make-up artist (damn, how good would we look all the time if we were?), this is just what works for me! Feel free to experiment, play around and use a freakin' sharpie if that's what you like to use. Here's how to get defined brows:
For this little tutorial I've mixed together SEVENTEEN's dark brown brow palette and Anastasia Beverly Hills Dipbrow Pomade in Ebony as right now my hair is a little between black and brunette!
I love mixing these as SEVENTEEN's brow gel is a little more waxy so holds all of the unruly hairs together well (reviewed here) while the ABH Dipbrow gives it a darker colour that really compliments my hair and skin tone.

As I mentioned, I start by mixing the two products but obviously you can do this or not, depending on your preferred colour.
My ABH Pomade dries out so quickly even when the lid has been sealed tightly, so mixing them also brings the product back to life a little! Does anyone else have this problem? I thought with it costing so much that it wouldn't dry out! You can see how much the product has shrunk in the photos!
I then brush my brows upwards after plucking away any unwanted hairs and trimming stragglers with little scissors! This is great to do if you want your brows to look more tamed and sculpted. Pow pow.
After faintly outlining my brows and drawing in the tail, I fill in the sparse areas with brow gel/wax/pomade, but not too much. I don't add any product to the inner quarter of my brow, instead I use my brush to comb through the brows which spreads a little product from the filled in areas, making them look more natural!
Remember, you can always add more product, it's a lot harder to take it away.

Setting your brows is as important as filling them if you want them to look good (obviously mine do nooooot look good all the time haha, we all have bad make-up days, right?). I use the powder from SEVENTEEN's palette but you can also use eyeshadow, spray or gel, whichever you prefer.
My palette looks so gross because I use the tray to mix product and get rid of any excess colour!
Use a darker, closer to your skin tone foundation or concealer for above your brow. I like to use excess anywhere on my face that needs it -for the lighter shade usually my nose or forehead. This makes it a little less obvious that you've chalked your eyes haha.
To glam it up, mix a highlighter with the under-brow concealer!
Give your brows an extra brush through to make them look more natural. This also covers any spots you missed and you're done! Defined brows. This only takes me about 5-10 minutes and I do it every time I wear make-up. For bolder brows you can go a little thicker (see my sidebar pic) but this is perfect for back to school or work.
How do you do your brows? What brow products do you love? :) Shoot me some tips if you have any!

Follow me on Bloglovin' | Twitter | Instagram | Youtube

No comments: