Build Your First Sheet Pan Meal
Select your ingredients below to generate a balanced beginner meal plan. This tool uses the 'Texture Retention' principle to ensure your meal stays delicious after reheating.
Cook Settings:
- Preheat Oven 200°C
- Cooking Time ~25 Mins
Ingredients:
The Trap of Overthinking Your First Batch
You've bought the containers. You've watched three hours of videos on YouTube about color-coded chopping boards. But now you're standing in your kitchen wondering, what exactly do I cook?. Starting with a complex lasagna or a sous-vide recipe sets you up for failure. A good first meal isn't about being gourmet; it is about being forgiving. When you cook something that survives the fridge well and tastes better after a day of marinating, you build confidence.
In Melbourne right now, as we move through early autumn, the markets are full of hearty roots and greens that hold up nicely. The key to a successful start is finding a dish that treats heat gently and stores cleanly. If your rice gets mushy or your spinach turns into slime by Tuesday, you will quit. So, we need to define success differently. Success means a container you open on Wednesday morning that looks almost identical to how it looked Monday night.
Criteria for the Perfect Beginner Dish
Before you pick a recipe, run it through this mental checklist. Does it require more than five active cooking steps? Can you make enough to last four days without freezing? Most importantly, does it reheat evenly without drying out? These questions filter out 90% of popular online ideas that look great but fail practically.
- Microwave Resilience: Avoid dishes with components that turn soggy immediately upon heating, like fried batters. Stick to grain-based bases like quinoa or brown rice which absorb moisture rather than repel it.
- Sauce Separation: Sauces made of emulsified oils can separate when chilled. Acidic tomato-based sauces or thick yogurt dressings usually stay stable until you warm them up.
- Texture Retention: Leafy greens wilt under heat. Harder vegetables like broccoli, carrots, bell peppers, and sweet potatoes keep their crunch when pre-cooked.
Think of your first meal as a test drive. You wouldn't take a brand-new car straight off the lot onto a dirt track. Start on smooth pavement. A simple sheet-pan roasted vegetable and chicken tray bake covers all these requirements without requiring constant monitoring.
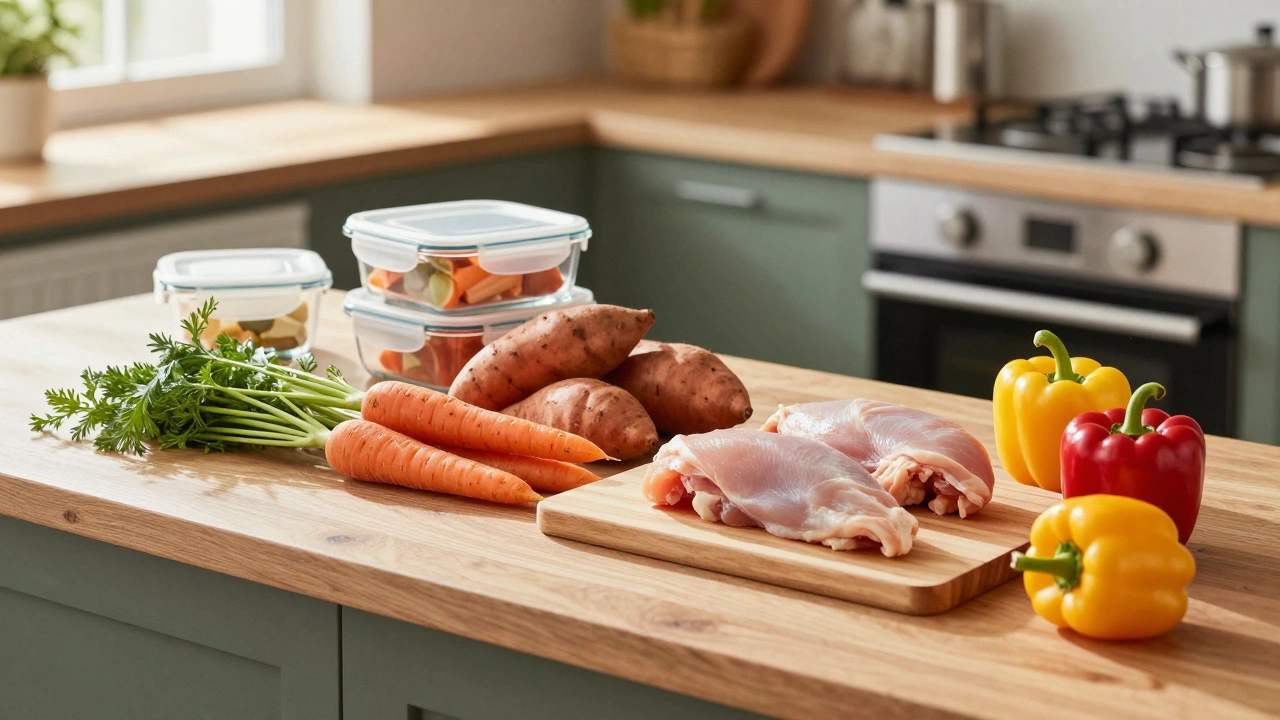
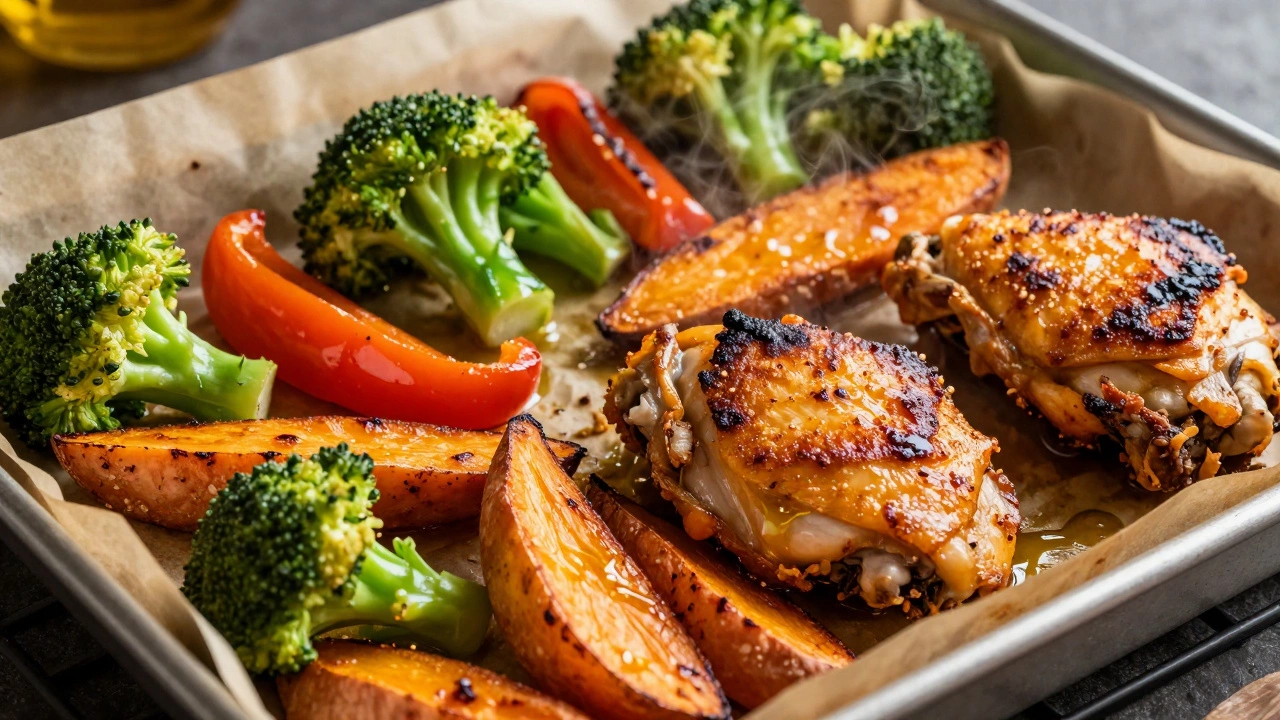
Option One: The Sheet Pan Tray Bake
This is often the gold standard for beginners because it minimizes washing up. You grab one large baking tray, a sheet of parchment paper, and a brush of oil. You chop your protein and veggies, toss them in oil, salt, pepper, and maybe some garlic powder. That's it.
| Component | Why It Works | Cooking Time |
|---|---|---|
| Chicken Thighs | High fat content prevents drying | 25 mins @ 200°C |
| Sweet Potato | Dense starch stays firm | 25 mins @ 200°C |
| Broccoli Florets | Doesn't lose texture quickly | 15 mins @ 200°C |
| Bell Peppers | Holds shape well | 20 mins @ 200°C |
The secret to keeping this meal fresh is temperature control. Do not pack hot trays directly into the fridge. Let them cool to room temperature on the bench first. If you seal a hot container, steam gets trapped and creates condensation. That condensation is basically a breeding ground for mold by day three. Let the food breathe, then snap the lid shut.
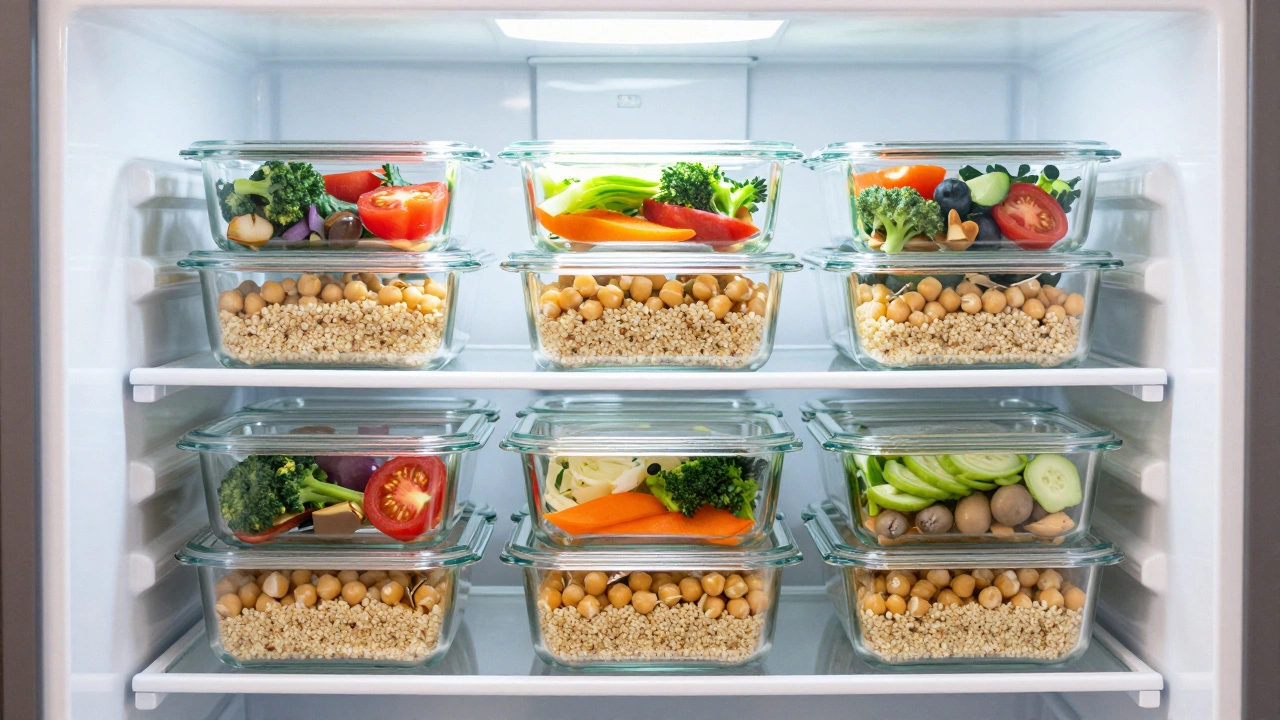
Option Two: Mason Jar Grain Bowls
If you hate reheating, try a cold bowl. A grain bowl works best when layered correctly. You cannot mix the wet ingredients with the dry ingredients at the start of the week, or you will be eating soup instead of a salad.
Pour your dressing into the bottom of the jar first. Then stack your heaviest proteins (like chickpeas or beans), followed by your grains (couscous or farro), and finally your vegetables at the top. When you are ready to eat, dump it into a bowl and mix. The dressing hits the grain as you stir, ensuring even coating without sogginess.
Grocery Shopping for the Novice
Your local Coles or Woolworths has aisles dedicated to "healthy basics," but walking into the produce section can be overwhelming. Look for firmness. Carrots should snap, not bend. Avocados should yield slightly to pressure but not feel squishy. In terms of protein, chicken thighs are currently cheaper than breast meat here in Victoria, and they taste better for reheated meals.
Do not buy "meal kits" yet. They are convenient but expensive. Build your own skill set by buying individual packets. Buy a bag of frozen peas. They are just as nutritious as fresh, never spoil, and save you the chopping time.
Essential Gear vs. Nice-to-Have
You don't need a multi-million dollar kitchen setup. You likely already own most of this.
- Glass Storage Containers: Plastic can leach chemicals when microwaved over and over. Glass keeps the smell from transferring between meals.
- A Sharp Chef's Knife: Dull knives require more force, leading to slips. Invest in one decent blade rather than a cheap block set.
- An Instant Read Thermometer: Knowing when meat is safe without guessing ensures you aren't wasting food or risking illness.
Skipping the fancy gadgets saves money and counter space. Focus on quality of basic tools. A sharp knife cuts faster, meaning less stress on a Sunday evening when you'd rather be relaxing.
Safety Rules for Meal Preppers
Food safety protocols are critical for batch cooking. The danger zone for bacteria growth is between 5°C and 60°C. When your meal comes out of the oven, it drops through this zone relatively fast. However, if you leave the tray on the bench for three hours while cleaning up, you risk leaving it there too long.
Set a timer for one hour. After one hour, put everything in the fridge, even if it's still warm. Once in the fridge, cooked leftovers are generally safe for three to four days. Pushing past day four introduces risks with bacterial spores that refrigeration won't stop. Freezing extends the life significantly if you aren't sure you can eat it in time.
Troubleshooting Common Mistakes
The Rice Is Mushy. This happens when you cook the rice too soft initially. Cook it slightly al dente, as it absorbs leftover moisture while sitting in the container overnight. Next time, reduce water slightly.
The Veggies Are Soggy. You may have steamed them too long or packed them with too much sauce. Try roasting vegetables at higher heat (220°C) to caramelize the edges before packing. Caramelized surfaces resist absorbing liquids better than steamed ones.
The Food Tastes Flat. Flavour dulls in the fridge. This is a biological fact regarding volatile aromatic compounds. To fix this, add fresh acids or salts after cooking. Pack a small side packet of lemon juice or sprinkle some sea salt flakes right before you eat.
Building Your Routine
Consistency beats perfection. A good first meal doesn't have to be the healthiest thing ever. It just needs to work for your schedule. If you miss the prep session, have a backup plan of high-quality store-bought options so you don't fall back into takeout habits. Treat meal prep as a self-care ritual rather than a chore. It is simply investing time upfront to gain freedom later in the week.
Can I freeze my first meal prep batches?
Yes, freezing is an excellent way to extend the lifespan of your prep. Just note that high-water content vegetables like lettuce or cucumbers change texture significantly when thawed. Stick to sturdy items like roasted root vegetables, cooked meats, and grains for the freezer. Label each container with the date before putting it in the deep freeze.
How many portions should I prepare for the week?
Start with three meals per person. If you eat every day at home, aim for five lunches. It helps to label your containers 1 through 5 so you consume the oldest stock first. Don't aim for seven perfect days immediately; missing one meal is okay, but having three guaranteed meals reduces daily decision fatigue significantly.
Is glass or plastic better for meal prep containers?
Glass is the superior choice for reheating and hygiene. It doesn't retain odors from spicy food, doesn't stain with tomato sauce, and handles microwave temperatures safely without degrading. While plastic lids are fine for sealing, avoid plastic bodies for microwavable foods due to potential chemical leaching concerns.
What is the safest way to cool down large batches of food?
Spread the food out into shallow pans rather than trying to cool a massive pot. Large volumes take too long to cross the bacterial danger zone. Stirring occasionally releases heat faster. Once it reaches room temperature, transfer immediately to sealed containers and place in the fridge. Never rely on the fridge alone to cool hot trays down slowly.
Do I need to wash my produce immediately before storing?
It depends on how you store it. Greens wash well in a salad spinner beforehand and should be dried thoroughly before going into bags. Hard vegetables like carrots and onions can stay dirty in the crisper drawer until you are ready to chop them. For cooked meals, obviously, everything must be washed and cooked before entering your storage containers.